How to: Remove Builder Gel from your nails

What do you need
80/100 grit buffer
120/180 file
manicure brush
Silicone nail clips
Liquid remover
Cuticle pusher
Cotton

Step 1: Buff Away the Shine
First up, grab our 80/100 grit buffer. Buff the BIAB product off your nails, moving from left to right until all the shine is completely gone. Pro tip: Buff gently but thoroughly to avoid damaging your natural nail.
Step 2: File for a perfect finish
Next, take our 120/180 nail file to finish the process. Make sure the shine is removed from the entire nail fro a smooth base. Pro tip: Filing in one direction helps prevent splitting and ensures a smooth surface.
Step 3: Brush Off the Dust
Use our manicure brush to wipe away any excess dust from your nails. Pro tip: Brushing in a downward motion keeps dust from flying everywhere.
Step 4: Soak and Soften
For this step, you’ll need our silicone rubber nail clips and liquid remover. Take a small piece of cotton big enough to cover your nail, apply a few drops of liquid remover, and place the cotton on your nail. Make sure the cotton is soaked enough; if not, add a few more drops once it's on your nail. Secure the clips on your nails and let them soak for about 7 minutes. Don't forget to set your timer! Pro Tip: For stubborn BIAB, gently massage the clip over your nail to help the remover penetrate.
Step 5: Remove Excess Product
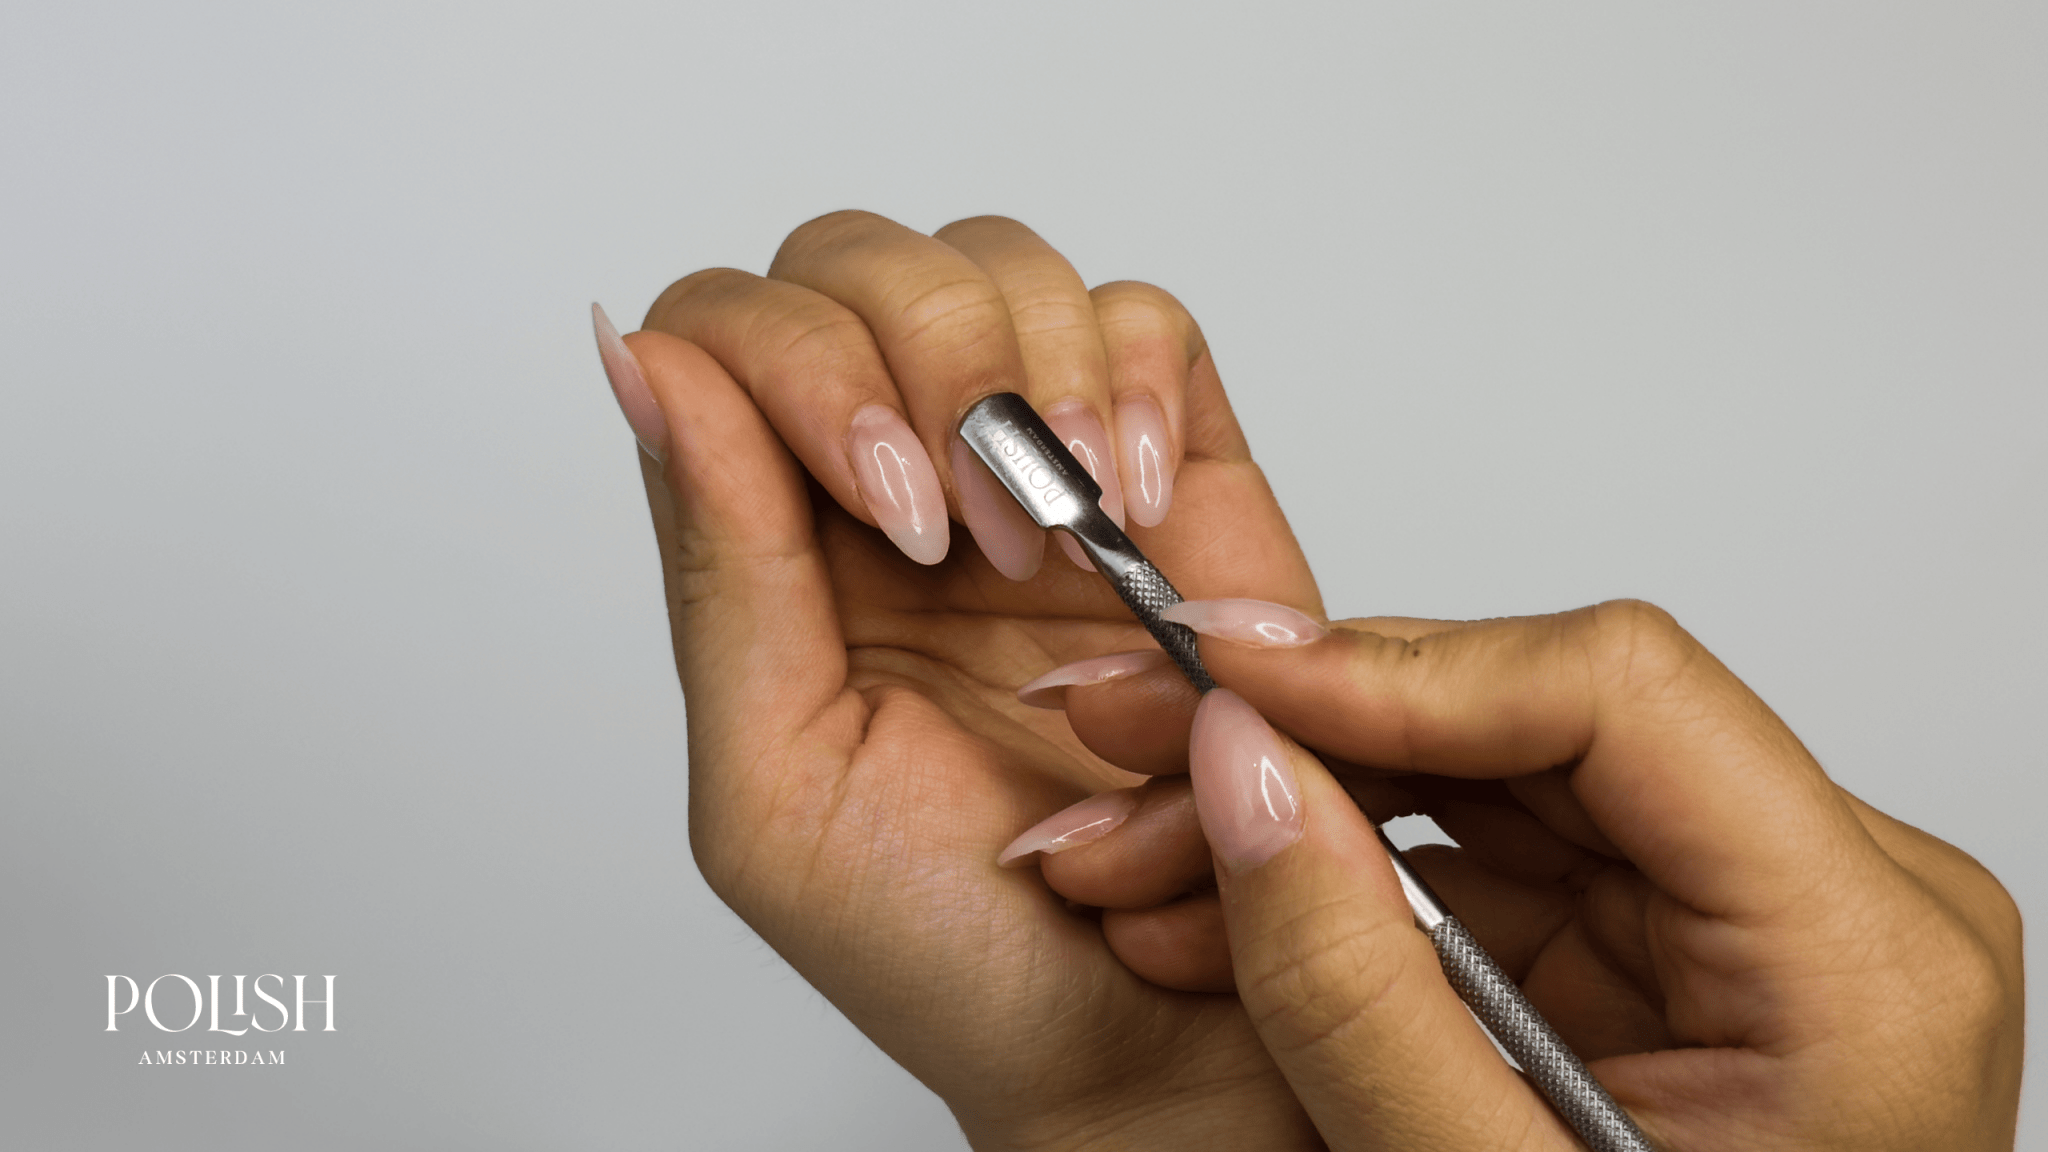
After 7 minutes, gently remove the nail clips and cotton. Using our cuticle pusher, carefully scrape off the excess BIAB product, working from the edges to the center of your nails. If needed, repeat steps 4 and 5 to ensure all the excess product is removed. Pro Tip: Be patient and gentle to avoid damaging your nail bed.
Step 6: Shape Your Nails
Once all excess product is removed, shape your nails with our nail file to your desired look. Pro Tip: Round, square, or almond – pick the shape that suits your style best!
Step 7: Buff for Smoothness
Buff your nails to ensure a smooth surface for your next application. ProTip: A smooth surface ensures better adhesion for your next BIAB application.
Step 8: Care for Your Cuticles
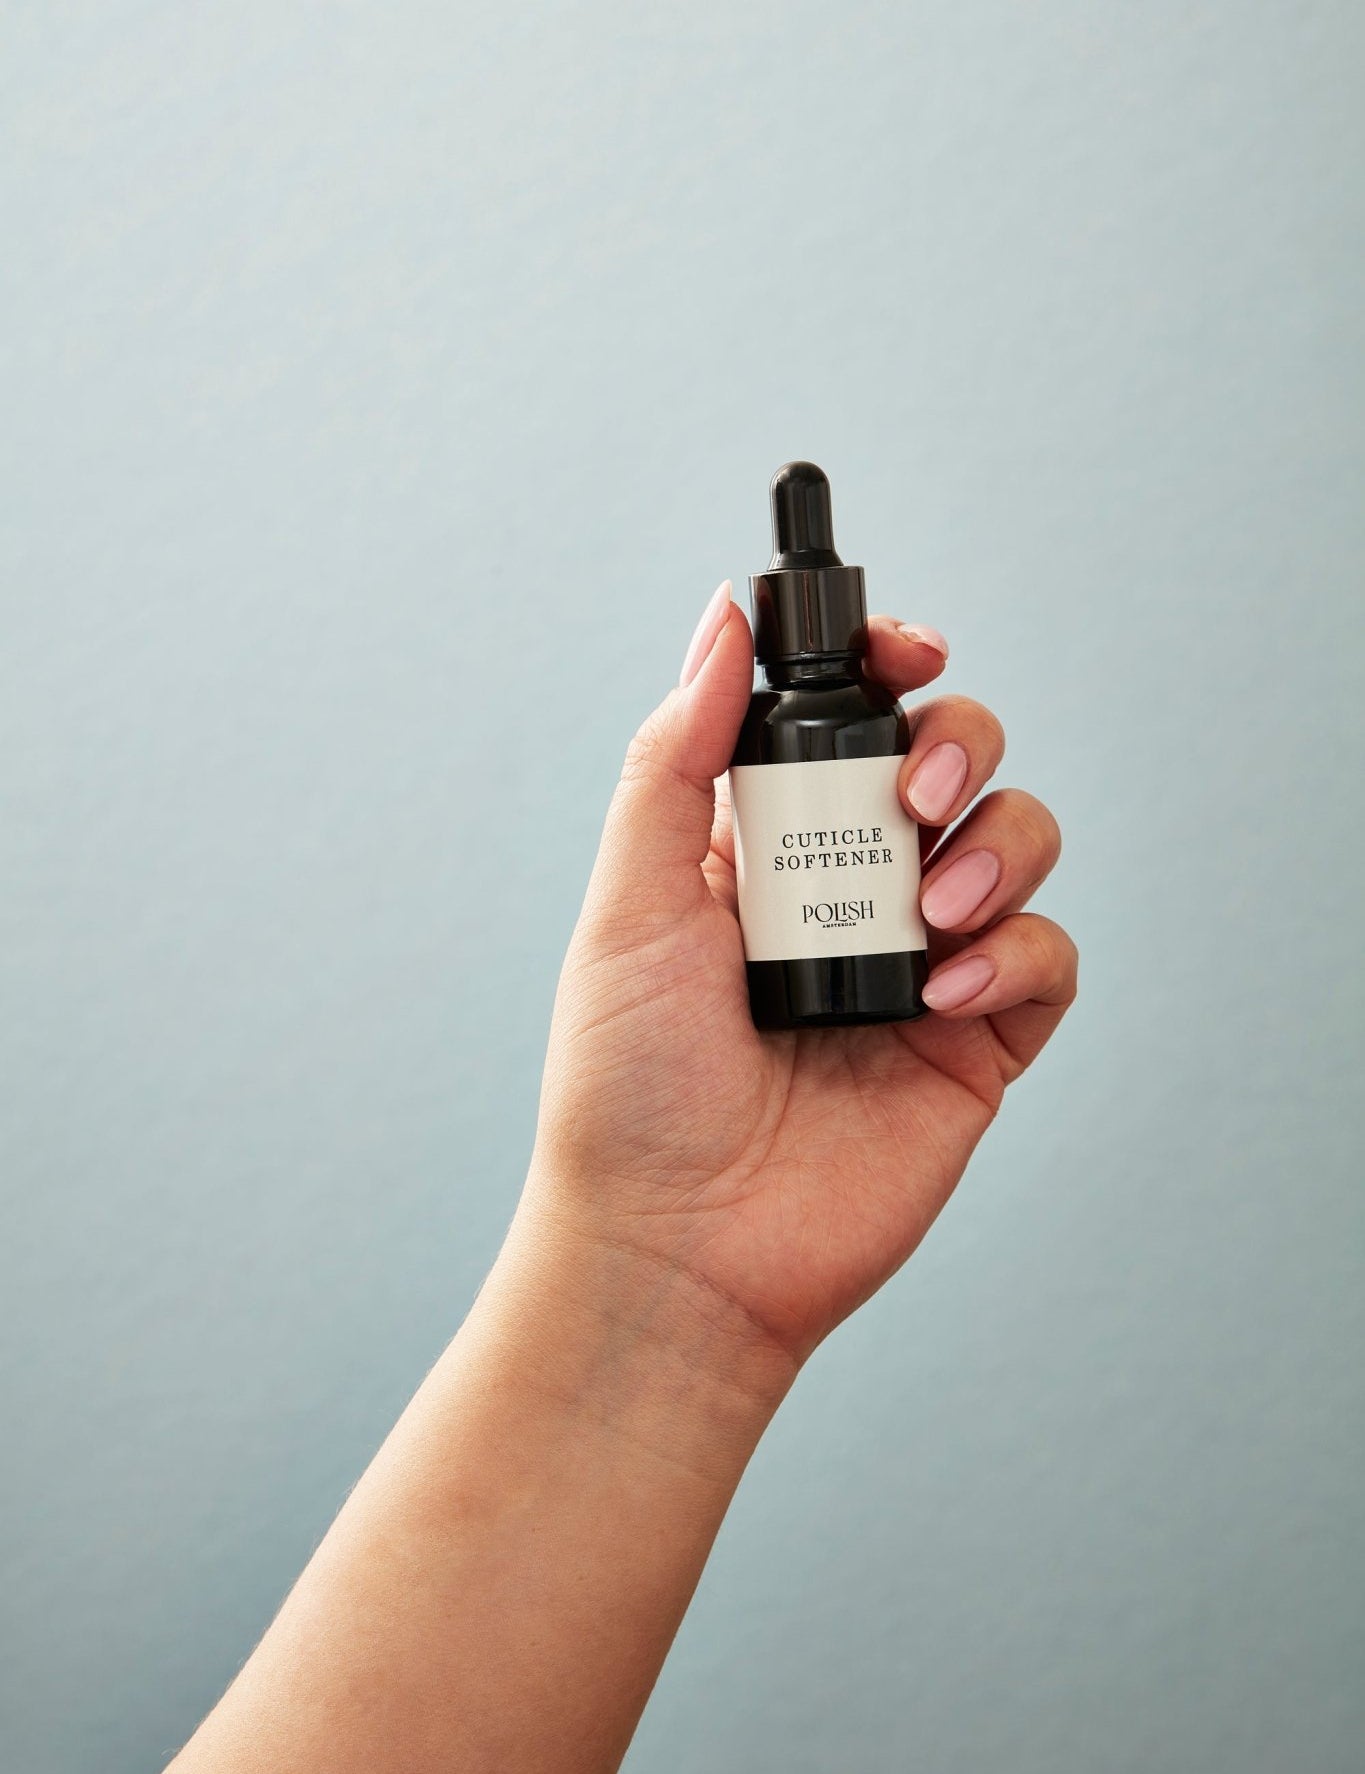
Apply our cuticle softener around your cuticles, then use our cuticle pusher to gently push back your cuticles for better BIAB application. Pro Tip: Healthy cuticles are the secret to a perfect manicure – treat them with care!
Step 9: Final Touches
Wipe away any excess oil. Finally, feel your nails, and if needed, use our buffer to even out the texture one last time.
Pro Tip: Always ensure your nails are clean and dry before starting your next BIAB application for the best results.

